If your website is displaying this not secure error that means you either don’t have an SSL certificate installed or the one that you do have installed isn’t activated. So in this article, I’ll show you two methods of how you can turn that not secure error into a green padlock is completely free.
Type in your website name that still doesn't have an SSL installed.
Choose a free plan.
Confirm Plan. It will do a quick scan just click continue after it's over.
You'll see two name servers that you need to point your domain to.
So this next step is different for every single Webhosting provider in my example I’ll be using Hostinger but if you don’t have access to your name servers or you just don’t want to mess around with that skip this article where I’ll show you a method how you can get you free SSL without updating the nameservers.
Here's how you update the nameservers on hostinger.
Near your domains click manage
Delete all four name servers that are here and type in the two that CloudFlare gave you.
Finally, click the update.
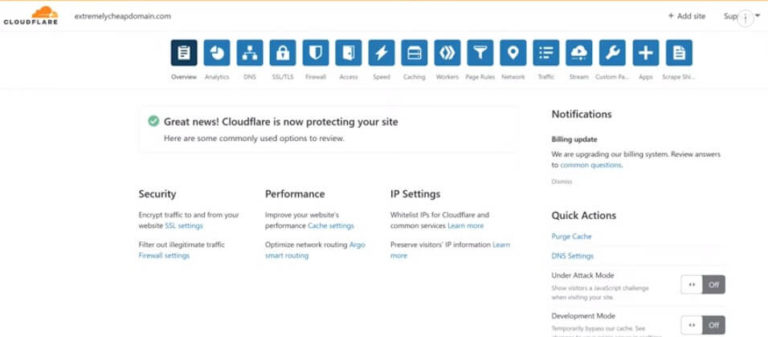
Yeah, it’s that simple you’ll get this screen when the process is complete.
After your name servers are updated.
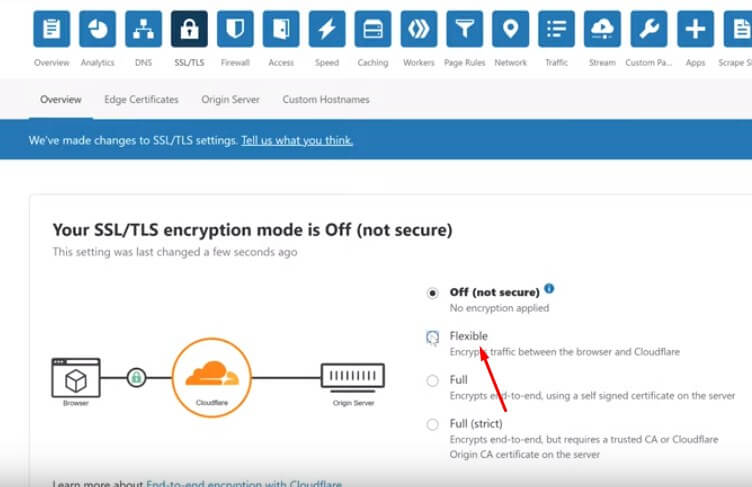
Go to the SSL / TLS and choose the flexible option.
Click on edge certificates and enable always use the HTTPS option.
Now you’ll want to go into your WordPress account and install a couple of plugins. You can reach the WordPress dashboard by typing in your website name followed by slash wp-admin for example http://example.com/wp-admin/.
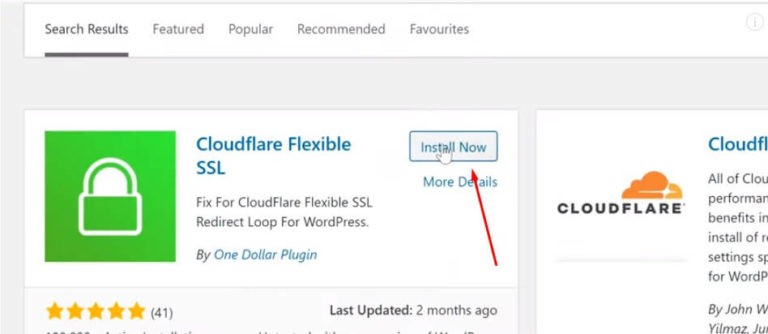
Hover over the plugins, choose to add new and in the search bar type in “CloudFlare” and next to the “CloudFlare flexible SSL” Click install then activate.
Then click add new again for new plugin install and in the search bar type in “really simple SSL” click on install then activate. Then click on “go ahead, Activate SSL!” button and activate your free SSL certificate and that’s it.
Now you have an unlimited SSL certificate for a lifetime and you can have as many as you like for different websites and all of the renewal processes will be taken care of by CloudFlare. If for some reason this method didn’t work for you. I’ll show you another method that you can use and it doesn’t require you messing within servers. All you need is access to the file manager of your website.
Second Method for Free SSL Certificate
Visit SSLforfree.com
Type in the domain name that you want to have an SSL installed.
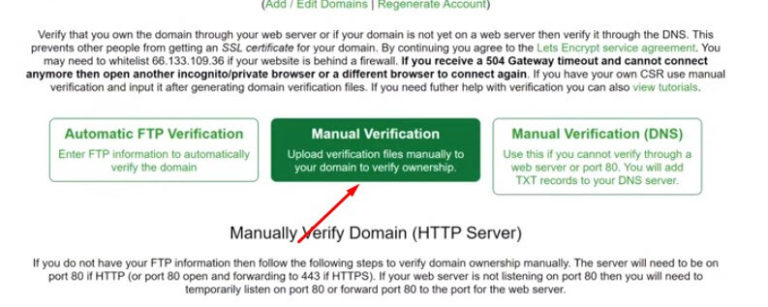
On click “create free SSL certificate” button and choose manual verification.
Click on manually verified domain button and download both files
Download File #1
Download File #2
keep this page open for later
Go to the control panel of your web hosting provider and access the file manager.
Most web hosting providers use a cPanel so you’ll find this option under files > file manager.
If you are using hostinger, you’ll find this under files > file manager as well and if you’re using DreamHost, you’ll find this under manage WordPress > manage files.
Once you’re inside the filemanager you want to find is the public folder where all of your WordPress files are stored. Now you’ll need to go into settings (your top right side) and activate show hidden files.
Now you should see a folder named “.well-known” and if you don’t see, then don’t worry just click on “+folder” on your left top side and create a new folder with a name it “.well-known”. Now inside the “.well-known” folder. You should see “acme–challenged” folder. Again if you don’t see this folder, just created yourself.
Go inside “acme-challenged” folder and upload the two files that you’ve downloaded from sslforfree.com previously.
Now go back to the SSL for a free page that you kept open and click on these links they should take you to a page that looks something like below:
If it doesn’t that means something went wrong – try repeating the process again.
When everything is working correctly. Click on download SSL certificate button then go into your cPanel and navigate to the SSL / TLS tab. Once inside click on manage SSL size scroll down. Choose the domain name you want to install your SSL on and copy-paste all of the information from SSL 43 into the different tabs then, click install.
Once the installation is complete you’ll need to go into WordPress and install the “really simple SSL plugin” and that’s it.
Now you have a fully functional free SSL certificate no matter which method you use and I know some web hosting providers charge quite a bit of money for their SSL certificates but most of the time what you’re getting is this exact same SSL certificate that we just installed ourselves but Webhosting providers don’t actually charge for the SSL certificate itself. They take money for the installation and the renewal processes but since now you know how to do it yourself you are never going to have to pay money ever again.
SiteGround review I bought a SiteGround account and set up a live test so I could monitor their performance real time just so the information would be as up-to-date as…
In Siteground review, I have talked about how their turbo plans might not be all that turbo. But there is still no denying that A2 hosting is one of the…


")
Great content! Super high-quality! Keep it up! 🙂
Truly this is a invaluable site.
thank so a lot for your site it assists a great deal.
Hey people!!!!!
Good mood and good luck to everyone!!!!!
Hello!
Good cheer to all on this beautiful day!!!!!
Good luck 🙂